


Leonardo AI
Leonardo AI: What I Learned After Weeks of Making (and Wasting) AI Images
Last month I needed a thumbnail for a blog post, and I had exactly one hour. Stock photo sites gave me the same overused handshake images. Hiring a designer for one thumbnail felt silly.
So I opened Leonardo AI, typed “laptop on a wooden desk, morning light,” and hit generate.
The first result had a laptop with three keyboards. The second had a desk growing out of a window. By the fourth try, I was laughing at my screen and losing credits.
That hour taught me more than any tutorial did. If you’re thinking about trying Leonardo AI, here’s what I wish I’d known before I started.
So what is Leonardo AI, in plain words?
It’s a website where you type a description and get an image back. You can also use it to edit images, upscale them, and turn them into short video clips. It runs in your browser, so there’s nothing to install.
It’s also owned by Canva these days, which explains why the interface feels cleaner and less intimidating than most AI image tools.
I’ve also tried Midjourney, Adobe Firefly, and Bing Image Creator. Leonardo sits in an interesting middle spot. It’s friendlier than Midjourney, which many people still find confusing, and it gives you more control than the simpler tools.
Getting started without wasting your free credits
Leonardo has historically offered a free tier with a daily allowance of credits. Plans, limits, and features change often, so check the pricing page for current numbers instead of trusting any blog post, including this one.
What matters is that credits are limited. Every generation costs some, and some settings cost more than others. Here’s the routine I now follow:
- Sign up and look around first. Spend five minutes on the image generation page before typing anything.
- Pick a model deliberately. Leonardo offers several models, each with a different look. Some lean photorealistic, others illustrated or cinematic. Don’t leave it on whatever default loads.
- Write a decent prompt. More on this below.
- Start with a small batch. I generate two images at a time, not four. If the prompt is bad, I’ve wasted less.
- Refine, don’t restart. If an image is 70% right, work from it instead of starting over.
Prompts: the part everyone gets wrong (including me)
My early prompts were lazy. Things like “a cool futuristic city.” The results looked like generic wallpaper because I gave the tool nothing to work with.
Here’s the formula I settled on. It isn’t magic, but it works:
Subject + setting + lighting + style + camera or framing
Compare these two:
- Weak: “a coffee shop”
- Better: “a small cozy coffee shop interior, rainy afternoon, warm lamp light, wooden tables, shallow depth of field, photorealistic”
The second one gave me something I could actually use as a blog header.
A few things I noticed along the way:
- Lighting words matter a lot. “Golden hour,” “soft window light,” and “dramatic shadows” completely changed the mood.
- Shorter isn’t always better, but rambling is worse. Once my prompts passed a few sentences, the tool seemed to ignore half of it.
- Say what you want, not what you don’t. Telling it “no people” sometimes made people appear. Using the negative prompt field, where available, worked better.
The mistakes that cost me the most time
Mistake 1: Expecting perfect hands and text
AI image tools are better at hands and lettering than they used to be, but they still slip. I once generated a poster with a headline, and the spelling was creative in all the wrong ways.
If your image needs readable text, add it afterward in Canva, Photoshop, or any basic editor. Don’t count on the AI to spell.
Mistake 2: Generating endlessly instead of fixing
I used to treat every bad image as a reason to generate ten more. It’s a slot machine mentality, and it burns through your daily allowance.
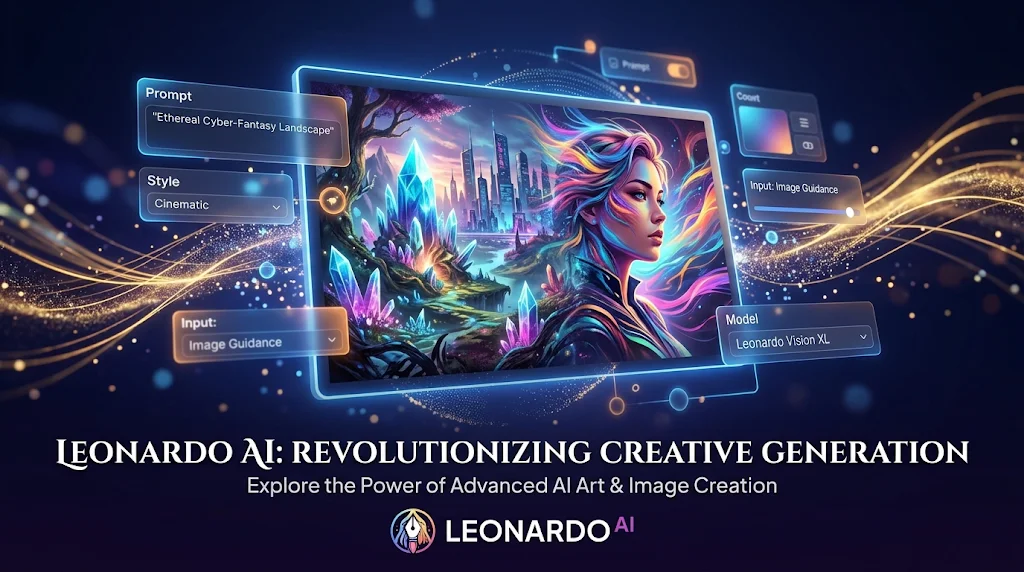
Now I use the editing and image-guidance tools. If the composition is right but the colors are off, I tweak that. If I like an image’s pose or layout, I use it as a reference and adjust the prompt around it.
Mistake 3: Ignoring the upscaler
My first few downloads looked soft when I put them on a wide blog banner. I’d skipped the upscaling step entirely.
Leonardo has an upscale tool that sharpens and enlarges images. Use it only on the final pick, not on every draft, since it uses extra credits.
Mistake 4: Not thinking about commercial use
This one matters if you run a blog or business. Before using AI images commercially, read Leonardo’s current terms of service and check what your plan allows. Rules around ownership and commercial use can differ between free and paid tiers, and they change. Five minutes of reading now beats a headache later.
Real situations where it actually helped
Here’s where Leonardo earned its place in my workflow.
Blog thumbnails and header images. This was my original use case. With a solid prompt, I can get a unique image in minutes instead of scrolling stock sites.
Concept art for a side project. A friend was designing a small indie game and needed rough character ideas. We generated dozens of looks in an afternoon. None were final art, but they gave him a direction to take to a real illustrator.
Social media graphics. Simple, stylized backgrounds for quote posts or announcements, then text added in Canva.
Product mockup ideas. I tried generating “lifestyle” backgrounds for a product photo idea. It’s good for brainstorming, but I wouldn’t use it to show a real product, since it can’t reproduce your exact item accurately.
Features worth knowing about
Leonardo’s feature list has changed a lot over time, so treat this as a snapshot of what stood out to me:
- Multiple models and styles. You can switch between realistic, illustrative, and artistic looks depending on the project.
- Image guidance. Upload a reference and tell the tool how closely to follow it. This was a lifesaver for consistency.
- Canvas-style editing. You can mask part of an image and regenerate just that area. Great for fixing one bad detail without losing the rest.
- Image-to-video. Short animated clips from a still image. Fun, and sometimes surprisingly good, but it eats credits faster.
- Upscaling. Sharper, larger final images.
New features and model names show up often, so click around the interface and read the update notes.
A simple workflow you can copy
This is what I do now for most projects:
- Write down what the image is for (blog header, social post, concept sketch).
- Pick the model that fits the look.
- Write a prompt using the subject, setting, lighting, style, framing formula.
- Generate a small batch.
- Choose the closest one and refine it with editing or image guidance.
- Upscale only the winner.
- Add any text in a separate design tool.
- Check the license terms if it’s for commercial use.
That routine cut my average time per usable image from about an hour of fumbling to maybe fifteen minutes.
Is Leonardo AI worth it?
It depends on what you need.
It’s a good fit if you’re a blogger, small business owner, hobbyist, or creative who wants decent visuals quickly and doesn’t mind learning a bit of prompting. The free tier is enough to find out whether it suits you.
It’s probably not for you if you need pixel-perfect brand assets, precise product accuracy, or guaranteed correct text and logos. For that, you still need a human designer or traditional design tools.
Privacy and honesty matter too. If you publish AI-generated images, think about whether to label them as such, especially if they could be mistaken for real photos. Readers tend to appreciate the transparency.
Final thoughts
My first experience with Leonardo AI was a bit of a mess, with the three-keyboard laptop and all. But once I stopped treating it like a magic button and started treating it like a tool that needs clear instructions, it became one of the most useful things in my content workflow.
If you try it, start small. Pick one real project, write a careful prompt, and expect to make a few mistakes.
And if you get a laptop with three keyboards, screenshot it. It makes a great story later.








Leave a Reply